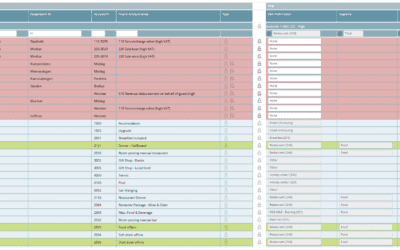
If you want to use previous mapping decisions as a reference when working with new data, follow these steps:
- Go to Mapping Accounts: Access Mapping Accounts from the main dropdown in PMI, or click the red alert box on the Home screen if mapping is required.
- Select Property and View Options: Choose the relevant property (or “All” if comparing across multiple) and enable all relevant View Options to ensure all account data is shown.
- Use Filters to Locate Mapped Accounts: On the left, use the filter “Mapped” to view accounts already assigned to profit centers. These represent your existing mapping setup.
- Review Mapped Accounts by Department: Select the department you’re working with (e.g., Rooms, F&B) using the dropdown at the top of the page. This filters the view so you only see accounts relevant to that department.
- Compare and Apply: Use the mapped accounts as a visual guide. You can then map new accounts accordingly using the dropdown menus on the right and apply changes via the cogwheel icon.
- Save Your Work: Don’t forget to click the diskette icon in the top-right to save your mapping updates.
Tip: There is no “side-by-side comparison” tool built in, but you can keep the same view open in two browser tabs to compare departments or time periods manually.


0 Comments